How To Airbrush Flames
How to Airbrush Flames
It’s time to take your flame game to the next level, and we’re here to help.
Airbrushing flames on cars, motorcycles, shirts, and people is a popular customization for people who want to add some personal flair to their ride or styles. This guide will walk you through all the steps of the process, so that you can be confident in your abilities!

Flame On!
The first step is to choose whether you want your flame pattern to be simple or complex. If you’re not sure which one will look best on your “canvas”, try out a few different templates in the airbrushing or photo editing software on your computer. Then print them out in real life size so that you can see how they’ll look on the future piece of art. Once you’ve made your choice, make sure that the airbrush design fits.
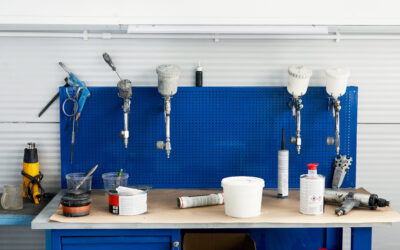
Once you’ve got the design down, it’s time to gather up all of the tools you’ll need. You’ll need the best airbrush gun for flames, masking tape, a paintbrush, an air compressor, and premium airbrushing paint. Something to keep in mind about choosing an air compressor, is to make sure you get one that has an adjustable regulator to help control how much pressure is coming through the airbrushing needle. The airbrush needle should also have a valve to control how much paint is released while airbrushing the flames. We also recommend you keep a respirator mask handy to protect yourself from fumes. Some extras that are not completely necessary, but will make the airbrushing flames task easier, are a container for water to help clean up messes or mistakes and a tray for holding extra paint.
Now, we’re going to walk you through the whole process of creating professional-quality fire. If the item you are airbrushing has dirt or rust on it, be sure to wash or sand it down to make it clean and smooth. You can use a high-pressure washer to remove any dirt or grime. Make sure the surface is dry before you begin painting.
1) Start by applying a base coat over the entire surface of your subject with either a brush or paint roller.
2) Using masking tape, mark off areas where you want to apply flames. You can also use stencils instead of tape to apply layers of paint and color.
3) Once you have marked off where you want to put flames, start applying thin coats of black paint along those lines until they are covered completely (but not too thick!). They make special airbrush nozzles for flames and special airbrush designs that will help make sure your work looks as good as possible. Make sure that every inch is covered; this will help ensure that there aren’t any gaps later on when we apply red paint over top of it!
4) Now it’s time for some color! We suggest using a variety of reds, oranges, and yellows. Neatly apply stripes of the colors along your masking tape lines or inside your stencils. Our artists generally apply brighter colors towards the center of the flames, and the darker reds towards the outside. It will take quite a bit of practice to get this technique perfected, but don’t put too much stress on making every part perfect. You can always airbrush over mistakes or tweak the airbrushed design as you see fit.
Finishing up, it’s important to double-check that you’ve got the basics down and are using good airbrush technique. This will ensure the final, smoother images really pop. Remember to always start with a clean airbrush; if you’re working with a piece that spans multiple days, for example, make sure to clean it thoroughly between sessions and only work on small areas each day so that you can see how things change over time easily. When it comes to mastering the art of how to airbrush flames, motivation and commitment are key. Practice makes perfect when it comes to airbrushing flames.
USEFUL RESOURCES FOR AIRBRUSHING
Thin Acrylic Paint for Airbrushing
Acrylic paints are great for airbrushing because they’re water-soluble and can be thinned with water.

Airbrush Nails
Airbrushing nails is a great way to create a flawless manicure that lasts, and when you airbrush nails you can get super creative with your manicure.
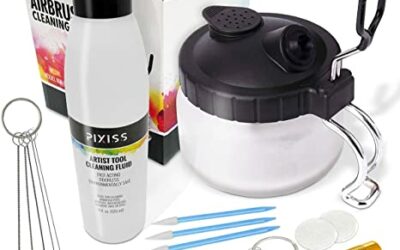
How to Clean Your Airbrush
It is very crucial to properly clean your airbrush and make sure that it stays smoothly functioning and operating. If you are a beginner, then you probably won’t have any idea about how to clean airbrush.
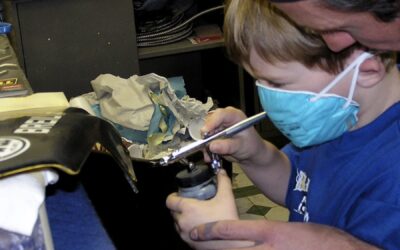
Airbrush for Beginners
For a beginner, it’s not a big deal to master airbrushing. It’s merely a game of determination and practice.
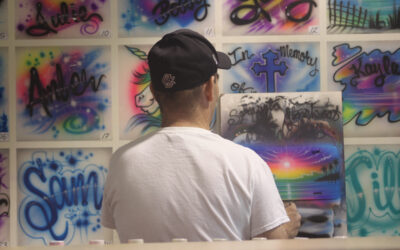
Airbrushing Ideas
Airbrushing IdeasAirbrushing is a great way to add a bit of fun and flair to any project, and these ideas are sure to help you get started. Easily add a bit of extra flair to your t-shirts, nails, makeup, cakes, or tattoos with our airbrushing...
Compressors
Airbrush compressors are the heart of an airbrushing system. They are used to provide a constant flow of air to your airbrush. The air is supplied from an air tank, which is filled with compressed air. Airbrush compressors create a constant, steady flow of air that is needed by your airbrush to produce fine lines and detailed artwork.